Sourcing guide
Incoming Inspection for Plastic Pallets: A Practical QC Plan Before Warehouse Deployment
A practical guide for procurement teams and warehouse teams on how to inspect plastic pallet lots before release, including sampling, dimensional checks, functional tests, defect classification, and supplier feedback loops.

A plastic pallet shipment can look acceptable at the dock and still create problems after it enters daily warehouse circulation. The risk is not only cracked pallets. A small dimensional drift, uneven bottom runner, excessive warpage, weak label area, or inconsistent fork entry can lead to rejected loads, unstable stacking, conveyor stoppages, or disputes between procurement and operations.
For procurement teams, the practical question is straightforward:
What should be checked when a new plastic pallet lot arrives, before it is released into production, storage, or outbound logistics?
A good incoming inspection plan does not need to be complicated. It must be specific enough to catch lot-level problems early, fair enough to support supplier communication, and realistic enough for a busy warehouse team to execute.
1) Start with a lot definition that everyone can audit
Incoming QC becomes weak when the warehouse does not define what a “lot” means.
For plastic pallets, a lot is usually grouped by:
- purchase order or shipment number,
- pallet model and nominal size,
- production batch or manufacturing date,
- color and material grade,
- packaging or container arrival date.
Do not mix different pallet models into one inspection record. A 1200 x 1000 mm heavy-duty rackable pallet and a lightweight nestable pallet may arrive together, but they should not share the same acceptance decision.
If the pallet will be used in a demanding lane—racking, cold chain, automated conveying, or food contact handling—define the lot even more tightly. Smaller, cleaner lots make it easier to trace defects and decide whether a problem belongs to transportation damage, production variation, or incorrect specification.
2) Separate critical, major, and minor defects
A useful plastic pallet inspection plan should not treat every defect equally. A small color mark is not the same as a cracked runner.
Critical defects
These defects can create immediate safety, hygiene, or system-reliability risk. Examples include:
- visible cracks in deck, corners, runners, or fork-entry zones,
- broken anti-slip features that affect load stability,
- sharp flash or burrs that can injure workers or damage packaging,
- severe warpage that prevents safe stacking or conveyor travel,
- wrong model, wrong material grade, or wrong reinforcement configuration.
Critical defects usually require quarantine and supplier review before the lot is released.
Major defects
Major defects may not cause instant failure, but they can reduce service life or disrupt operations. Examples include:
- dimensions outside the agreed tolerance,
- runner unevenness that affects floor contact or rack seating,
- blocked or deformed fork-entry openings,
- excessive sink marks in load-bearing zones,
- missing plugs, labels, or required identification marks.
Major defects should be recorded with photos, measurements, sample numbers, and location on the pallet.
Minor defects
Minor defects are cosmetic or low-impact issues that do not affect agreed performance. Examples may include slight color variation, non-functional surface marks, or small scuffs from shipping. Even minor defects should be tracked if they appear repeatedly, because they may indicate process drift.
3) Build the inspection around the pallet’s actual use
Incoming inspection should reflect where the pallet will be used. The same pallet can pass for floor stacking but fail for racking or automation.
For floor stacking and block storage
Check:
- deck flatness,
- corner integrity,
- anti-slip surface condition,
- stacking stability with the intended load pattern,
- bottom contact points on the warehouse floor.
For selective racking or supported storage
Check:
- rack contact zones,
- runner straightness,
- bottom-deck stiffness,
- pallet deflection under the expected load,
- compatibility with beam spacing.
For rack-supported applications, procurement teams should align incoming QC with the load assumptions already written into the purchase specification. If those assumptions are not yet formalized, this plastic pallet RFQ specification checklist is a practical starting point.
For conveyors and automated handling
Check:
- length, width, and height distribution across samples,
- bottom runner continuity,
- leading-edge condition at transfer points,
- warpage that may affect sensors,
- label or barcode readability where scanning is required.
Automation projects should not rely on visual inspection alone. A lot can look clean but still create transfer errors if its base geometry varies too much. For automation-specific requirements, see this guide to automation-ready plastic pallet specifications .
For food, beverage, or pharmaceutical warehouses
Check:
- smoothness of cleanable surfaces,
- absence of dirt traps in critical zones,
- foreign material contamination,
- damaged edges that may hold residue,
- color or marking consistency for segregation programs.
If sanitation is part of the operating requirement, the release decision should match the warehouse cleaning process, not only the receiving inspection. A structured sanitation method is described in this plastic pallet sanitation SOP for food warehouses .
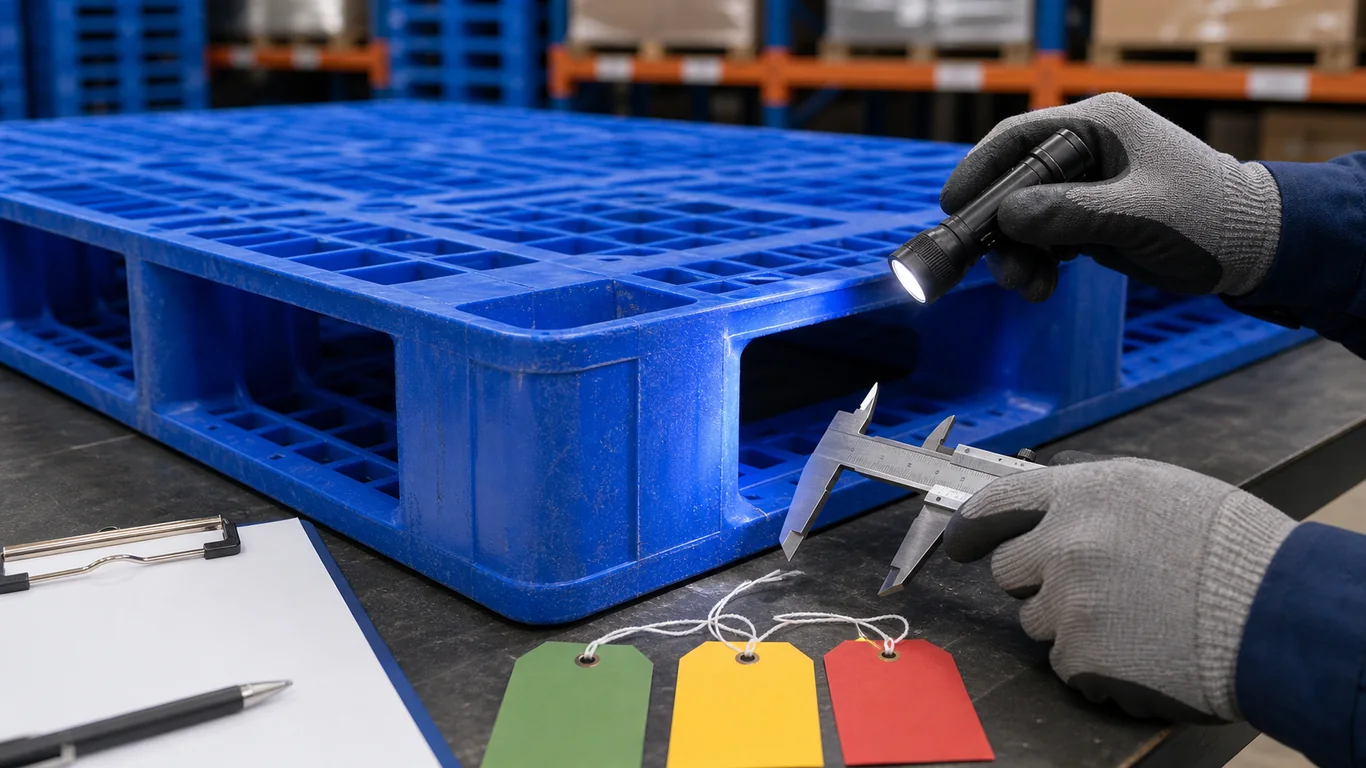
4) Use measurement points, not general impressions
“Looks flat” and “seems strong” are not inspection criteria. The receiving team needs repeatable measurement points.
For most warehouse pallet lots, a practical measurement sheet should include:
| Check item | Suggested method | Why it matters |
|---|---|---|
| Overall length and width | Tape measure or caliper at defined positions | Confirms compatibility with racks, loads, and equipment |
| Overall height | Measure at corners and center | Detects warpage and molding variation |
| Fork-entry width and height | Measure both long-side and short-side entries | Prevents forklift handling issues |
| Diagonal difference | Compare two diagonal measurements | Finds twisting or out-of-square pallets |
| Runner contact | Place on flat surface and check rocking | Identifies unstable base contact |
| Weight | Sample weighing | Flags material or reinforcement inconsistency |
| Label area | Scan or visually check required marks | Supports traceability and inventory control |
The goal is not to measure every feature on every pallet. The goal is to measure the features that affect your specific storage, handling, and safety risks.
5) Choose a sampling plan that matches operational risk
Inspecting 100% of every pallet is usually unrealistic. Inspecting only the top few pallets in a stack is also unreliable.
A practical approach is to use risk-based sampling:
- higher sample size for first orders, new suppliers, new molds, or critical applications;
- moderate sample size for repeat orders with stable historical performance;
- targeted inspection for transport damage if packaging or container loading appears abnormal;
- increased inspection after any complaint, line stoppage, or field failure.
For companies that already use formal acceptance sampling, ISO 2859-1:2026 provides a recognized framework for attribute-based lot-by-lot inspection indexed by AQL (ISO standard page ). In practice, the exact sample size and acceptance number should be defined by the company quality team according to application risk, supplier history, and internal policy.
For plastic pallets, avoid one common mistake: sampling only from the easiest-to-reach stack. Pull samples from different layers, different pallet stacks, and different container positions whenever possible. This reduces the chance of missing a concentrated defect pattern.
6) Run a short functional check before full release
Dimensional inspection is necessary, but it does not replace use-case validation. Before the lot enters normal circulation, test a small set of inspected pallets in the real process.
A functional release check may include:
- Forklift handling: lift from all intended entry directions, with and without load.
- Stacking trial: stack loaded and empty pallets to the planned height.
- Rack placement: place loaded pallets on the actual rack beam configuration.
- Conveyor pass: run samples through the most sensitive transfer point.
- Load fit: confirm cartons, drums, crates, or bags sit within the deck footprint.
- Scanning check: verify labels, molded marks, or barcode positions if used.
If the pallet model is intended for heavy-duty racking, a reinforced product such as a 3-runner plastic pallet may require different release checks than a nestable pallet used mainly for one-way movement or empty storage.
Functional checks should be documented with the same discipline as visual defects. “Passed trial” is less useful than “20 loaded pallets passed rack placement on 2700 mm beams with no visible rocking, cracking, or unsafe deflection.”
7) Quarantine first, negotiate later
When an incoming pallet lot fails inspection, the warehouse should not release it informally while procurement “checks with the supplier.” That often creates confusion: some pallets enter the system, some remain on hold, and defect evidence becomes mixed with normal wear.
A clean non-conformance process includes:
- isolate the affected lot,
- label it as hold or quarantine,
- record pallet model, PO number, quantity, and defect type,
- take photos with measurement references,
- separate transport damage from manufacturing defects where possible,
- agree on replacement, sorting, rework, discount, or conditional use.
Conditional use should be written clearly. For example, a lot rejected for racking may still be approved for floor storage or empty return movement if the defect does not affect that lower-risk use. Without written limits, rejected pallets often drift back into the wrong application.
8) Turn inspection data into supplier improvement
Incoming inspection should not be only a gatekeeping activity. Over time, it should help buyers improve their pallet specification and supplier performance.
Track at least these indicators:
- defect rate by supplier and pallet model,
- defect type by batch,
- repeated dimensional trends,
- transport damage frequency,
- complaint rate after release,
- replacement or credit cycle time.
After several shipments, this data gives procurement a stronger basis for supplier discussions. It also helps determine whether the issue is a one-time incident, a packaging problem, a mold maintenance problem, or a specification gap.
For high-value pallet programs, inspection data can also support lifecycle decisions. If incoming quality is stable but failures increase after months of use, the issue may belong to operating damage or retirement criteria rather than initial manufacturing quality.
Final takeaway
Incoming inspection for plastic pallets is not paperwork. It is the control point between a purchasing decision and daily warehouse reality.
The strongest QC plans define clean lots, classify defects by risk, measure the features that affect the real application, sample from the whole shipment, and document functional checks before full release.
When these steps are built into procurement and receiving routines, pallet quality becomes easier to verify, supplier discussions become more factual, and warehouse teams avoid releasing hidden problems into racking, conveyors, production lines, or outbound logistics.